
If you think that it?s difficult, or that you need a lot of technical skills for a membership site, you?d be wrong (sorry, not sorry). The reason why, is because this article describes the simple steps on how to create a membership website. It?s truly much more simple than you probably imagine, it?s affordable, and best of all, you don?t need any special technical skills to do it.
Here?s How To Create A Membership Website:
First, I you will need some software ? this will take care of all the coding, website hosting, login credentials and even payments! Everything you see in this article will be examples shown from the ClickFunnels software.
Try ClickFunnels 14 Days for Free

Creating The Pages
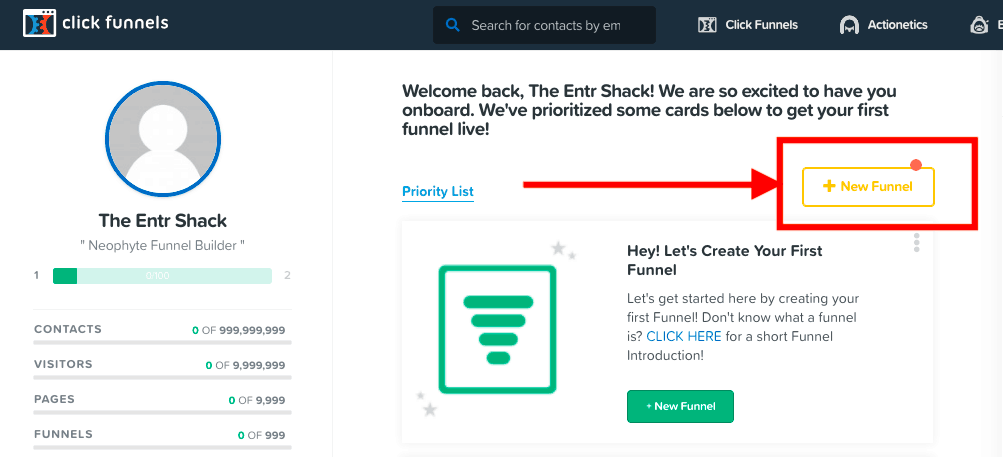 First things first, once you?ve created your ClickFunnels account, you will click the ?New Funnel? button in your dashboard. You?ll notice the word ?funnel? sprinkled all over ClickFunnels because? well? that?s what they do best ? sales funnels (including membership funnels).
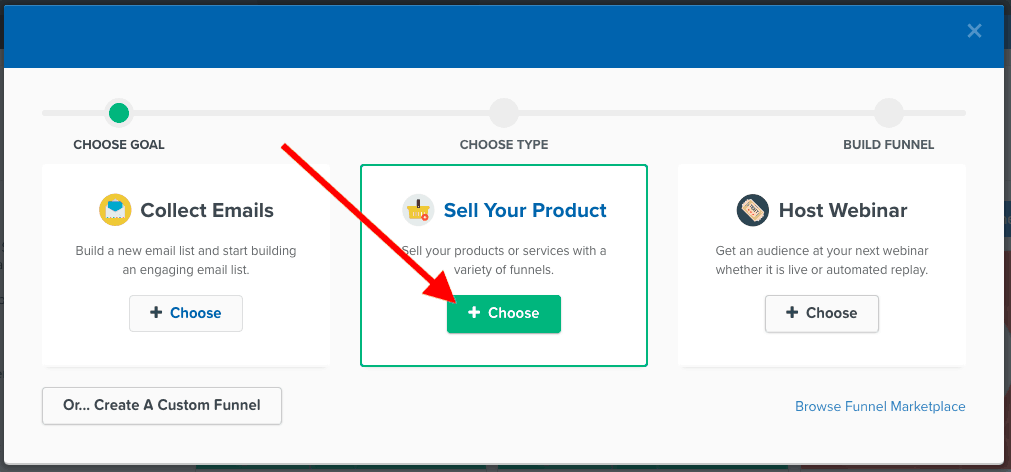
This will take you to the funnel wizard.
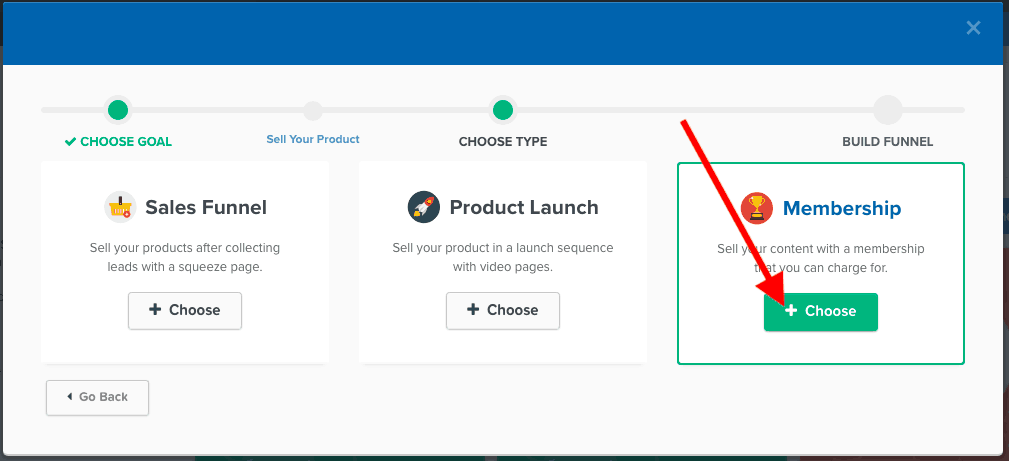
Choose to ?Sell a Product? (you?re selling your membership, right?). Then choose ?Membership Funnel?.
The software will automatically generate the code and pages required for your membership website. By default, the two pages created are the registration / login page, and the actually membership content area page(s). The only additional step for the setup is to choose a ?template? for each page. You will be prompted and honestly, it doesn?t really matter which template you choose because they are all fully customizable.
Editing The Pages
This is one of the top reasons I recommend ClickFunnels for those looking for information on how to create a membership website ? because it?s so easy to use. Especially, when you want to edit a page.
Simply click the big yellow ?edit page? button.
Then, once you enter the page editor you will notice that everything is drag & drop. It is so simple to use and to figure out, even for the least technical minds. As well, if you?re completely stumped, ClickFunnels has an unreal support team, a large online community where you can ask questions, and tons of how-to articles for their users.
Restricting Membership to Paying Customers
On the second step ?membership area?, you will notice that you will have the option to restrict access to this content unless the person has either paid the membership fee, or if they?ve been tagged (usually via an email sequence).
A few other important features that you can utilize here are:
- Edit the membership area (customize to your business logo, colors, etc)

- Add Course Sections
- Add Course Lessons
- Edit the style of the lessons pages (useful for color coding and visual learning)
- Automated email or text (sms) sequence
- Drip delay (unlock lessons or sections after a certain amount of time)
- Membership list (great for lead generation/list exporting)

Why Use ClickFunnels versus Free Software?
Again, the reasons why I have written this article around ClickFunnels is for simplicity and ease of use. As a web developer with 10+ years in the technical field of web design & development, I can tell you from my experience, free is not always better or easier.
In fact, most ?free? softwares are almost always more time consuming and resource restricted than paid software.
And let?s be honest, if you?re learning how to create a membership website, I?m guessing it?s because you want to either a.) grow your business or b.) sell your knowledge ? do you have time to stress out over which wordpress plugins will work for all the above features? or how to publish your thinkific course and make it actually look the way you want? I doubt it. That is why I use ClickFunnels too.
So what do you think? Comment below with #trial if you?re going to give it a test drive. Looking forward to hearing from you.
Try ClickFunnels 14 Days for Free